

Whipped Honey
Posted July 28st, 2026Some links on this website are affiliate links, which means I may earn a small commission at no additional cost to you. Thank you for supporting my work!
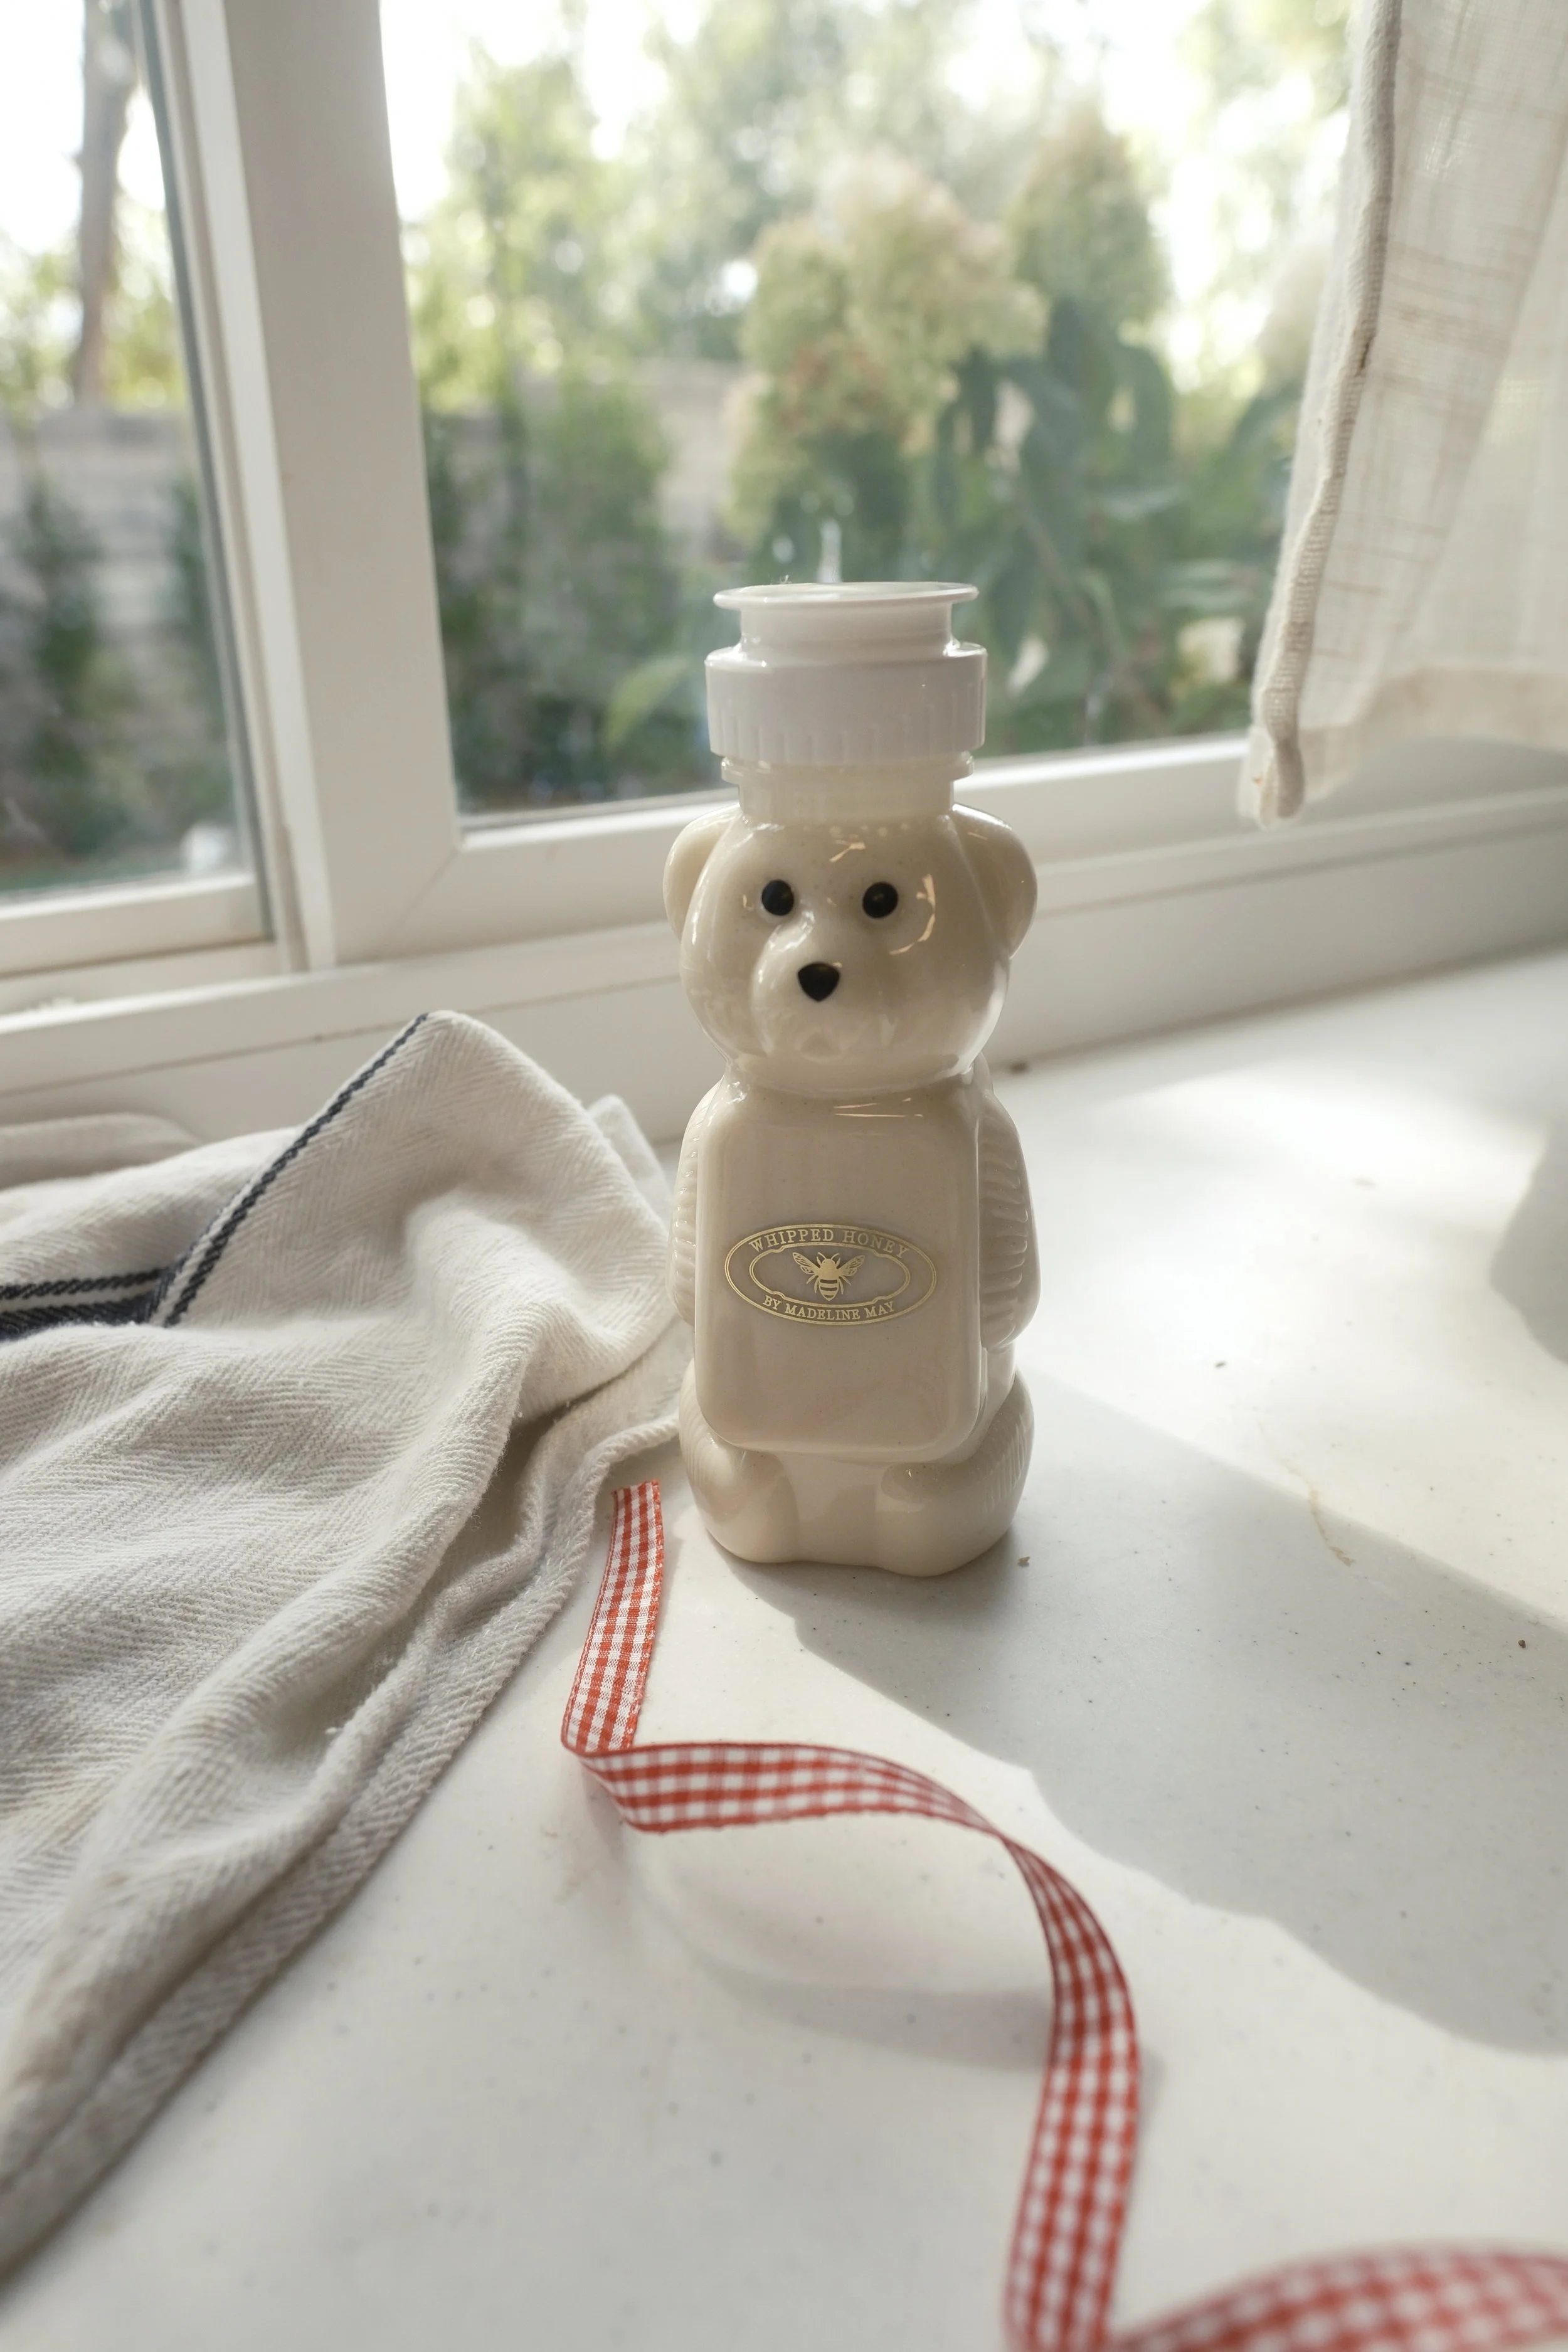
Homemade Whipped Honey
Summary
If you've never had whipped honey before, imagine all the floral sweetness of raw honey transformed into something silky, airy, and spreadable. Whipping honey slowly incorporates tiny air bubbles, creating a lighter texture that's perfect on toast, biscuits, yogurt, oatmeal, pancakes, or paired with a cheese board.
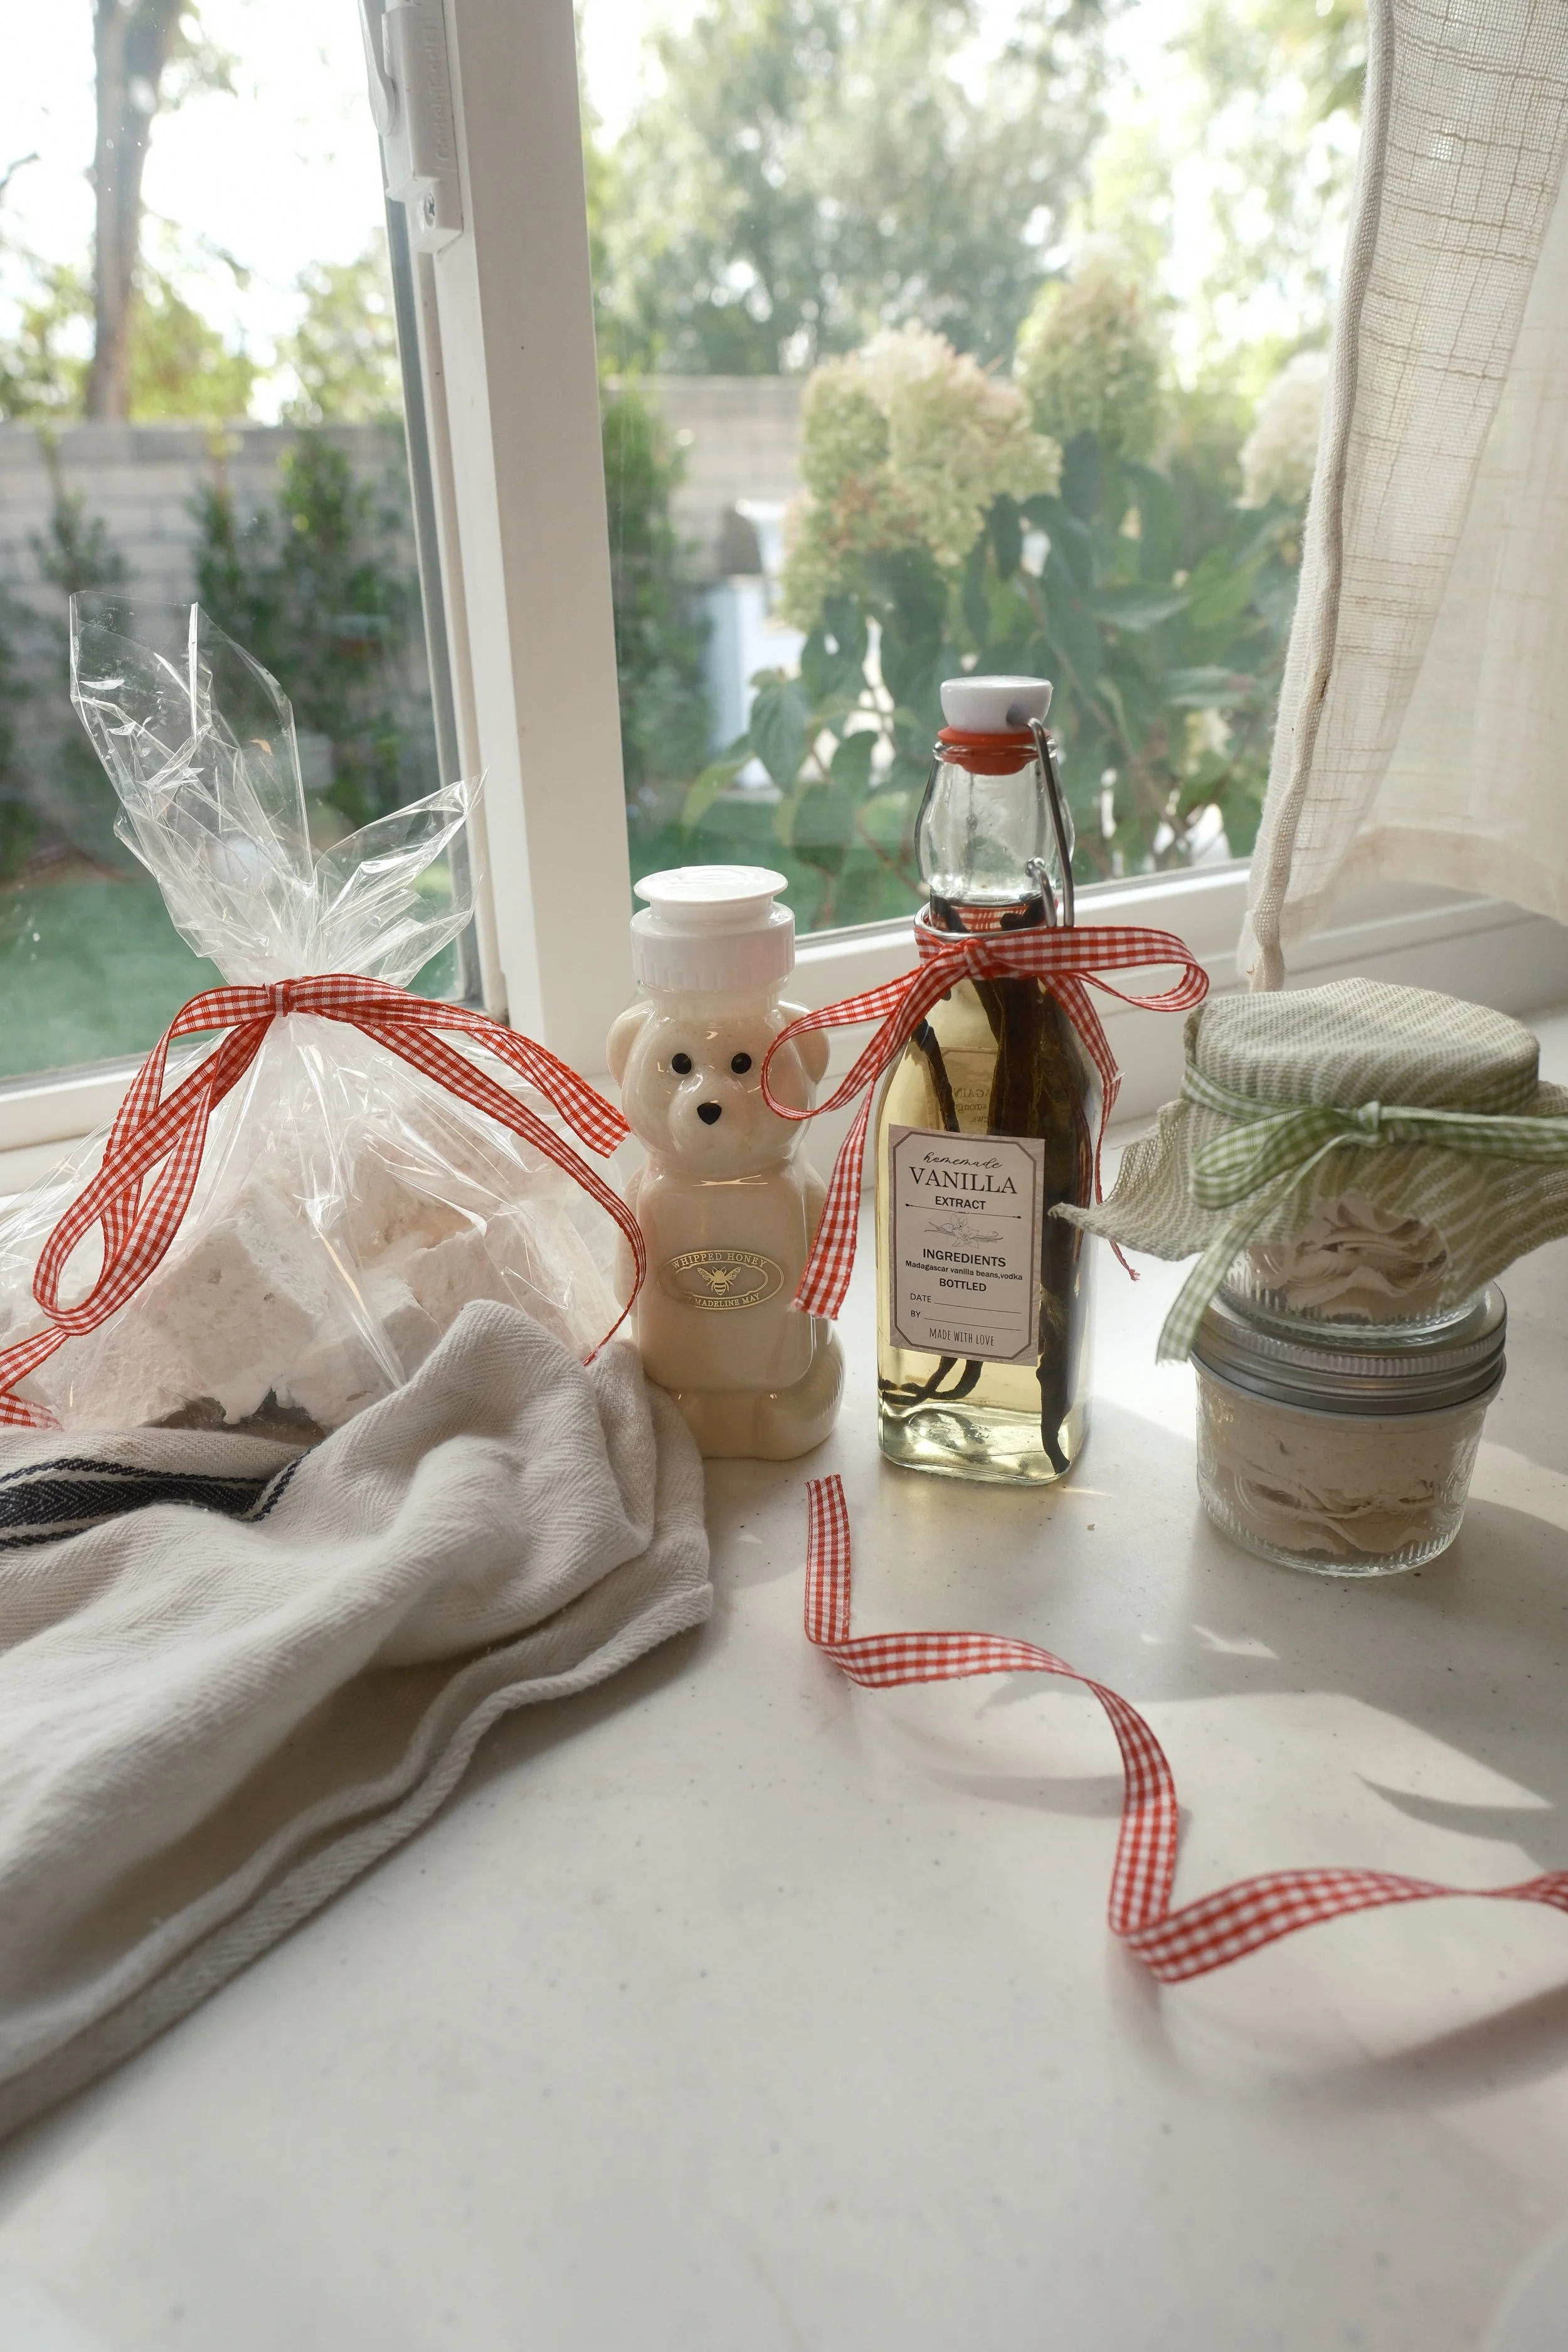
Because honey naturally varies from jar to jar, this recipe is more of a technique than an exact science. Some honeys whip beautifully in under 20 minutes, while others may take longer or may never become quite as fluffy depending on their natural moisture content and floral source. The great news is that when you whip honey it turns into this stunning cream color that just makes for a beautiful and tasty gift!
Supplies:
Before we get started, I want to share all the supplies I used for these homemade gifts. Below you’ll find cute ribbons, honey jars, & baggies to package your gifts in!
Recipe Details
Prep: 20–40 minutes
Cook: None
Total: 20–40 minutes
Yield: About 2 cups
Category: Condiment
Difficulty: Easy
Ingredients
2 cups raw honey
Instructions
Add the honey to the bowl of a stand mixer fitted with the whisk attachment.
Begin mixing on low speed for 1 to 2 minutes, then increase to medium speed. Continue whipping until the honey becomes lighter in both color and texture. Depending on the variety of honey you're using, this can take anywhere from 20 to 30 minutes.
Stop occasionally to scrape down the sides of the bowl so everything whips evenly.
Once the honey has become pale, fluffy, and spreadable, transfer it to a clean jar or airtight container.
Storage
Store tightly sealed at room temperature for several months. Avoid introducing moisture into the jar by always using a clean, dry spoon.
Make Ahead
Whipped honey can be made well in advance and stored until you're ready to serve or gift it.
A Few Things to Know
Not all honey behaves the same.
The exact whipping time depends on the variety of honey, its moisture content, how recently it was harvested, and even the temperature of your kitchen. Some raw honeys become beautifully fluffy after 20 minutes, while others may need closer to 30 minutes. Certain very thin or high-moisture honeys may not whip into a dramatically airy texture at all. I know I know…it’s a bummer!! But like I said, you’ll still get a beautiful change in color and a creamier taste.
If your honey isn't changing after a long period of mixing, don't assume you've done anything wrong it may simply be the type of honey you're using.
If your honey has crystallized, gently warm the sealed jar in a bowl of warm (not boiling) water until it becomes pourable before whipping. Avoid overheating the honey, as excessive heat can affect its flavor and natural qualities.
A Note from Madeline May
There's something so lovely about turning one simple ingredient into something that feels completely different. A jar of whipped honey on the breakfast table instantly makes an ordinary morning feel a little more special. I love serving it with warm sourdough, homemade biscuits, fresh fruit, or adding a dollop to a cheese board when friends come over. It's one of those little homemade touches that always feels thoughtful, even though it couldn't be easier to make.
A Recipe by Madeline May
Whipped Honey
Whipped honey transforms one simple ingredient into a pale, creamy, and beautifully spreadable treat. All you need is raw honey and a stand mixer: let it whip for about 30 minutes, and the honey will gradually become lighter in color and airier in texture.
Spoon it over warm toast, biscuits, pancakes, waffles, oatmeal, yogurt, or fruit, or package it in a small jar for a thoughtful homemade gift. Because every honey is naturally different, the final color, thickness, and amount of fluffiness will vary from batch to batch.
Ingredients
Whipped Honey
Instructions
- Add the honey Pour the honey into the bowl of a stand mixer fitted with the whisk attachment. Make sure the bowl and whisk are completely clean and dry, since even a small amount of water can affect the honey’s storage quality.
- Begin mixing Mix on low speed for 1 to 2 minutes to settle the honey into the bowl, then increase to medium speed.
- Whip the honey Let the honey whip for about 30 minutes, stopping every 10 minutes or so to scrape down the sides and bottom of the bowl. It should gradually become lighter in color, thicker, and creamier.
- Check the texture Once the honey looks pale and spreadable, stop the mixer. Some varieties become noticeably airy, while others stay more silky and dense. Both results are normal.
- Store Transfer the whipped honey to a completely clean, dry jar and seal tightly. Store at room temperature and always use a clean, dry spoon.
Storage
Store tightly sealed at room temperature in a cool, dry place. Honey keeps best when no water or wet utensils are introduced into the jar. If the honey separates, becomes grainy, or settles over time, stir it well or whip it again before serving.
Before You Begin
Whipped honey is not the same as commercially creamed honey, which is made through controlled crystallization. This method simply incorporates air, so the lighter texture may settle or change over time. Results vary depending on the honey’s floral source, temperature, moisture level, and natural tendency to crystallize.
Browse More Recent Recipes


4 Edible Homemade Gifts To Make For People You Love