Homemade Marshmallows
Posted July 21st, 2026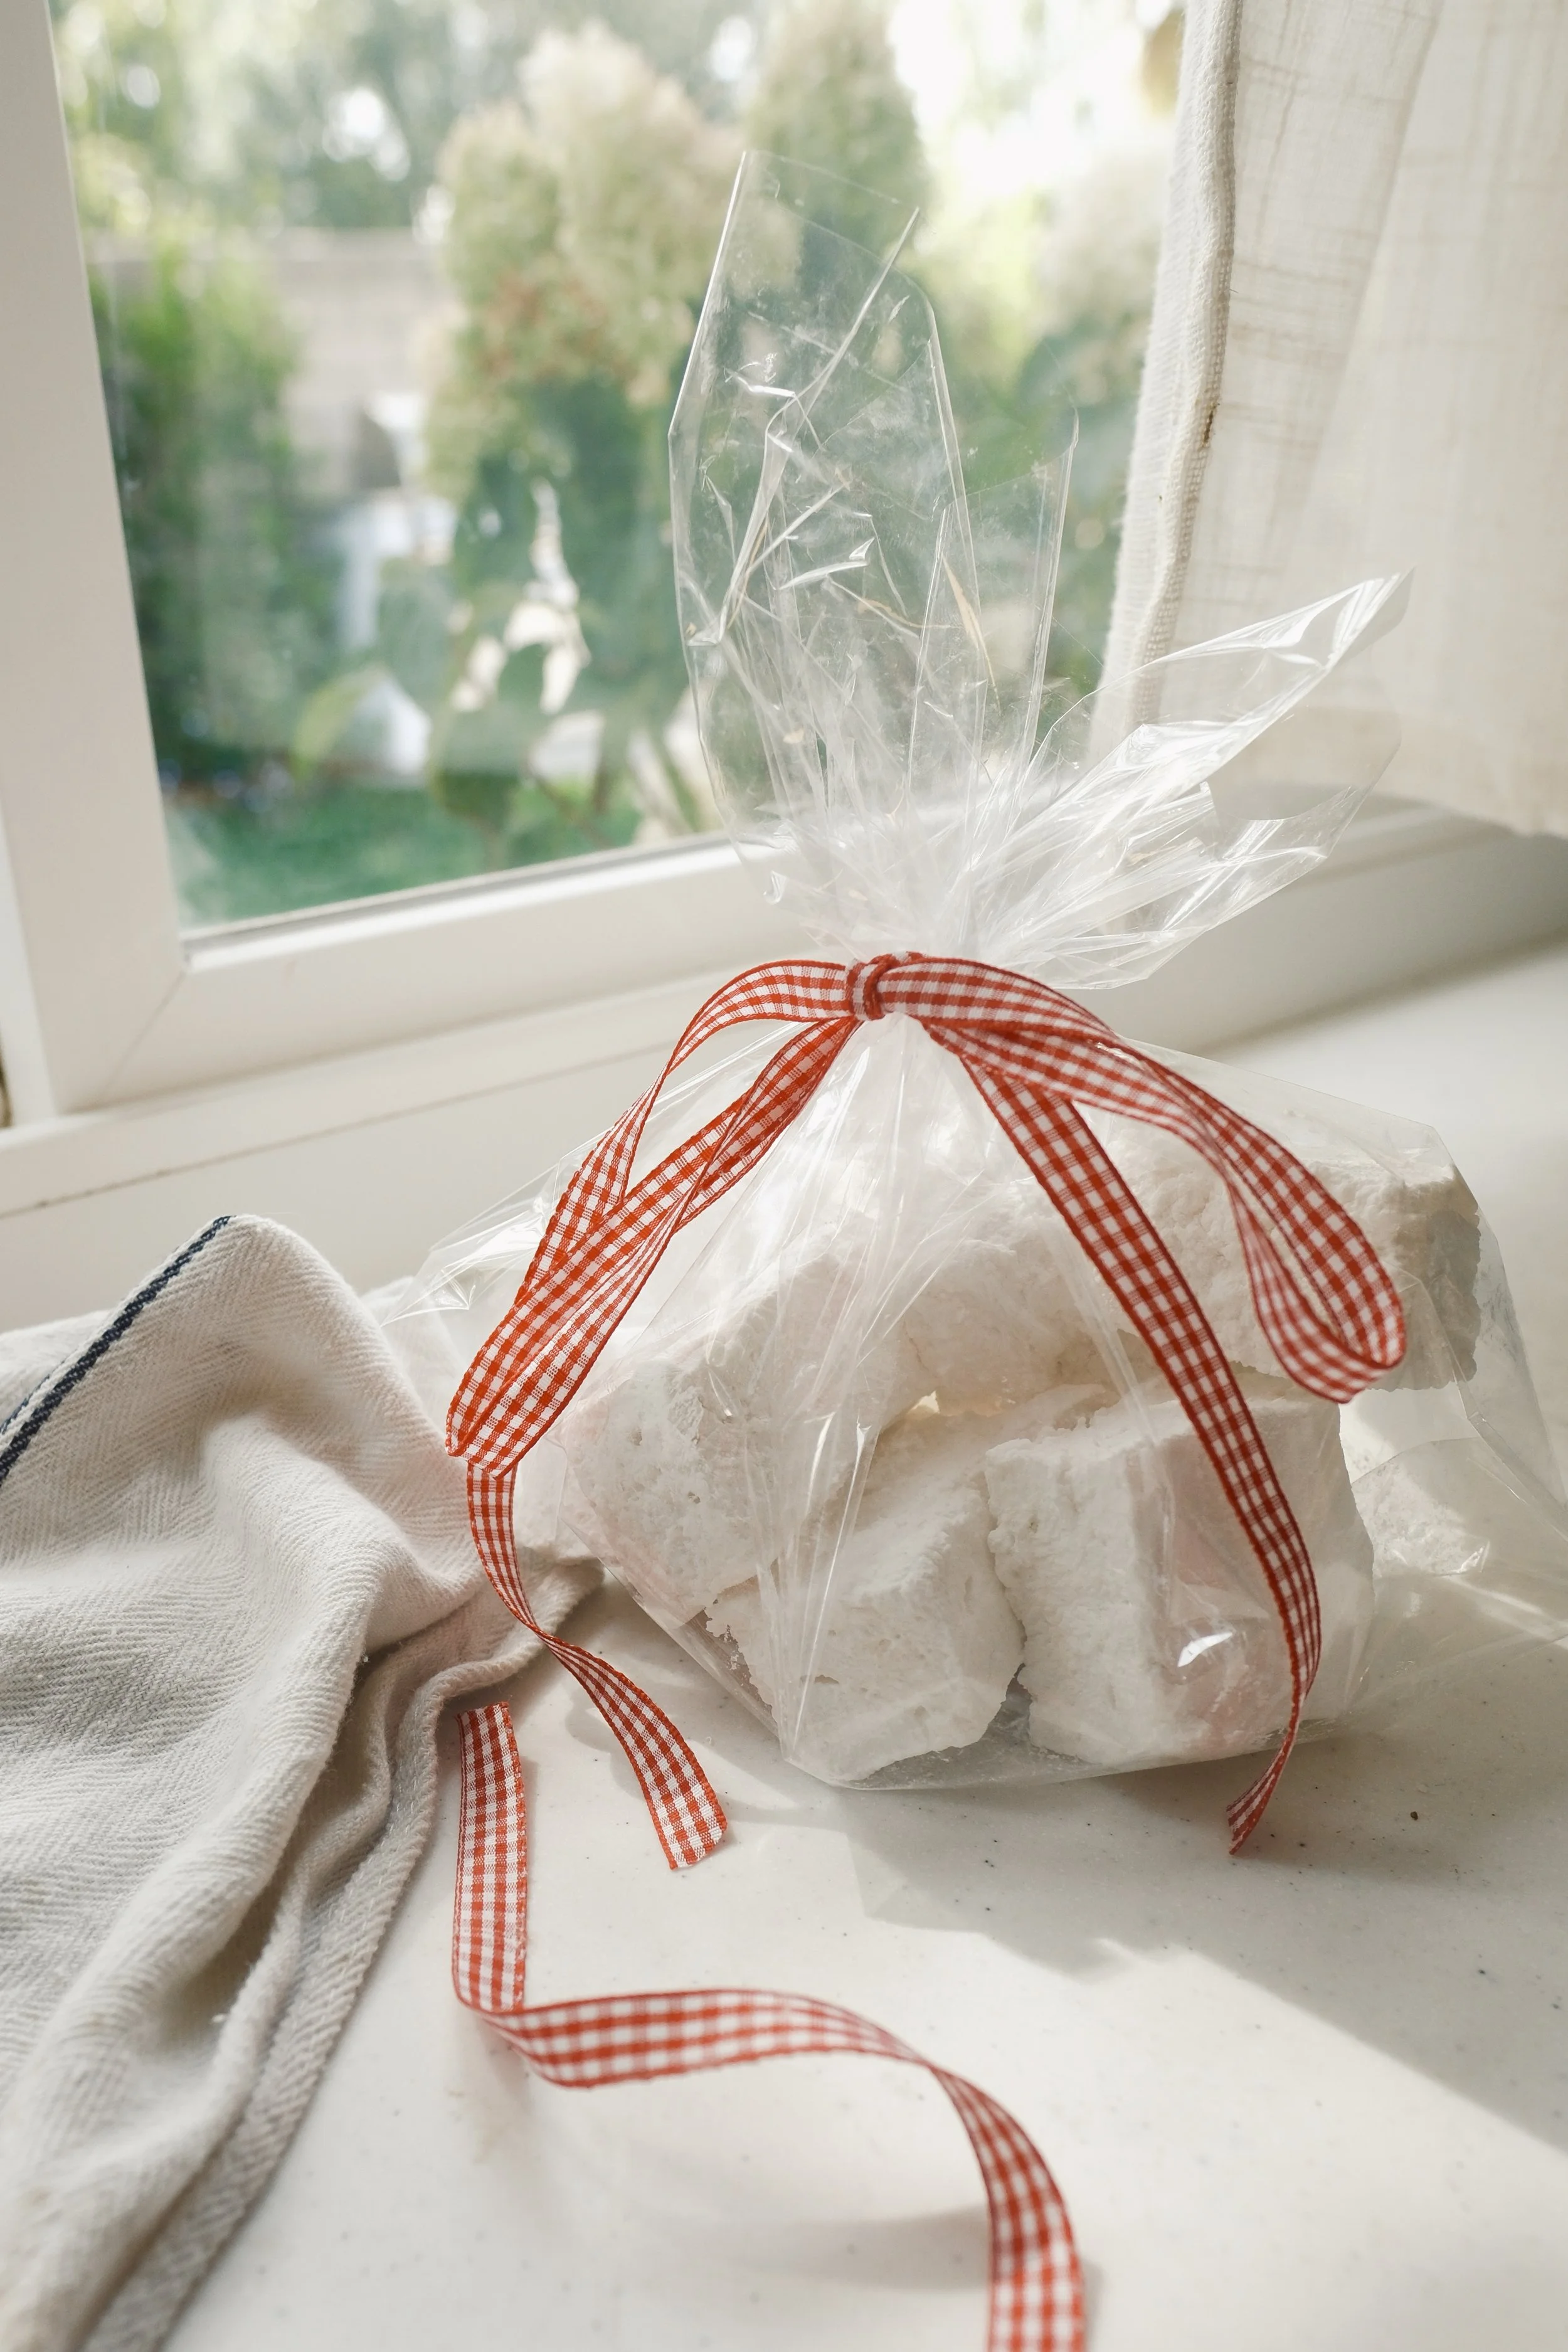
Homemade Vanilla Marshmallows
There is something so nostalgic about homemade marshmallows. They remind me of slow summer evenings, backyard bonfires, sticky fingers, and making s'mores with the people you love. While they're perfect tucked into a cozy mug of hot chocolate during the colder months, I honestly think homemade marshmallows shine in the summer.
They're incredibly soft, fluffy, and melt in your mouth in a way that store bought marshmallows never can. Toast them over a fire, sandwich them between graham crackers and chocolate, or enjoy one straight from the container while you're getting everything ready for a summer night outside. Once you make them from scratch, you'll never want to go back.
Prep Time
20 minutes
Cook Time
15 minutes
Rest Time
6 to 8 hours
Servings
24 marshmallows
Ingredients
Marshmallows
2¼ tablespoons unflavored gelatin (3 packets)
½ cup cold water
½ cup water
2 cups granulated sugar
½ cup light corn syrup
¼ teaspoon fine sea salt
1 tablespoon pure vanilla extract
For Dusting
½ cup powdered sugar
¼ cup cornstarch
Instructions
Step 1
Lightly grease an 8 x 8 inch baking dish.
In a small bowl, stir together the powdered sugar and cornstarch. Sprinkle a generous layer into the bottom of the pan and set the remaining mixture aside for later.
Step 2
Pour the cold water into the bowl of a stand mixer fitted with the whisk attachment. Sprinkle the gelatin evenly over the water and let it sit for about 10 minutes while you prepare the syrup.
Step 3
In a medium saucepan, combine the water, granulated sugar, corn syrup, and salt.
Cook over medium heat, stirring just until the sugar has dissolved. Once dissolved, stop stirring and continue cooking until the syrup reaches 240°F on a candy thermometer.
Step 4
Turn your mixer to low speed and carefully pour the hot syrup into the bloomed gelatin.
Once all of the syrup has been added, slowly increase the mixer to high speed and whip for 10 to 12 minutes. The mixture will become thick, glossy, bright white, and almost triple in volume.
Add the vanilla during the last minute of mixing.
Step 5
Working fairly quickly, pour the marshmallow mixture into the prepared pan. Lightly grease an offset spatula and smooth the top.
Dust the top generously with the remaining powdered sugar mixture.
Step 6
Let the marshmallows rest at room temperature for at least 6 hours, but overnight is even better. Avoid refrigerating them.
Step 7
Turn the marshmallows out onto a cutting board dusted with the powdered sugar mixture. Using a greased knife or pizza cutter, cut into squares.
Coat each marshmallow in the remaining powdered sugar mixture so they don't stick together.
Tips
Use a candy thermometer for the most reliable results. Reaching 240°F gives the marshmallows their perfectly soft texture.
Don't stop mixing too early. The marshmallow mixture should be thick, fluffy, and hold soft peaks before you pour it into the pan.
Lightly grease your spatula or even your hands if you need to smooth the top. Marshmallows are wonderfully sticky.
Store them in an airtight container at room temperature for up to two weeks.
Frequently Asked Questions
Can I toast homemade marshmallows?
Absolutely! They're one of my favorite summer treats. Toast them over a bonfire until they're golden and gooey, then sandwich them between graham crackers and chocolate for the ultimate homemade s'more.
Why are my marshmallows sticky?
They may need a little more of the powdered sugar and cornstarch coating, or they simply haven't had enough time to set.
Can I freeze them?
You can, but I think they're best enjoyed fresh. They stay soft and fluffy for about two weeks when stored in an airtight container at room temperature.
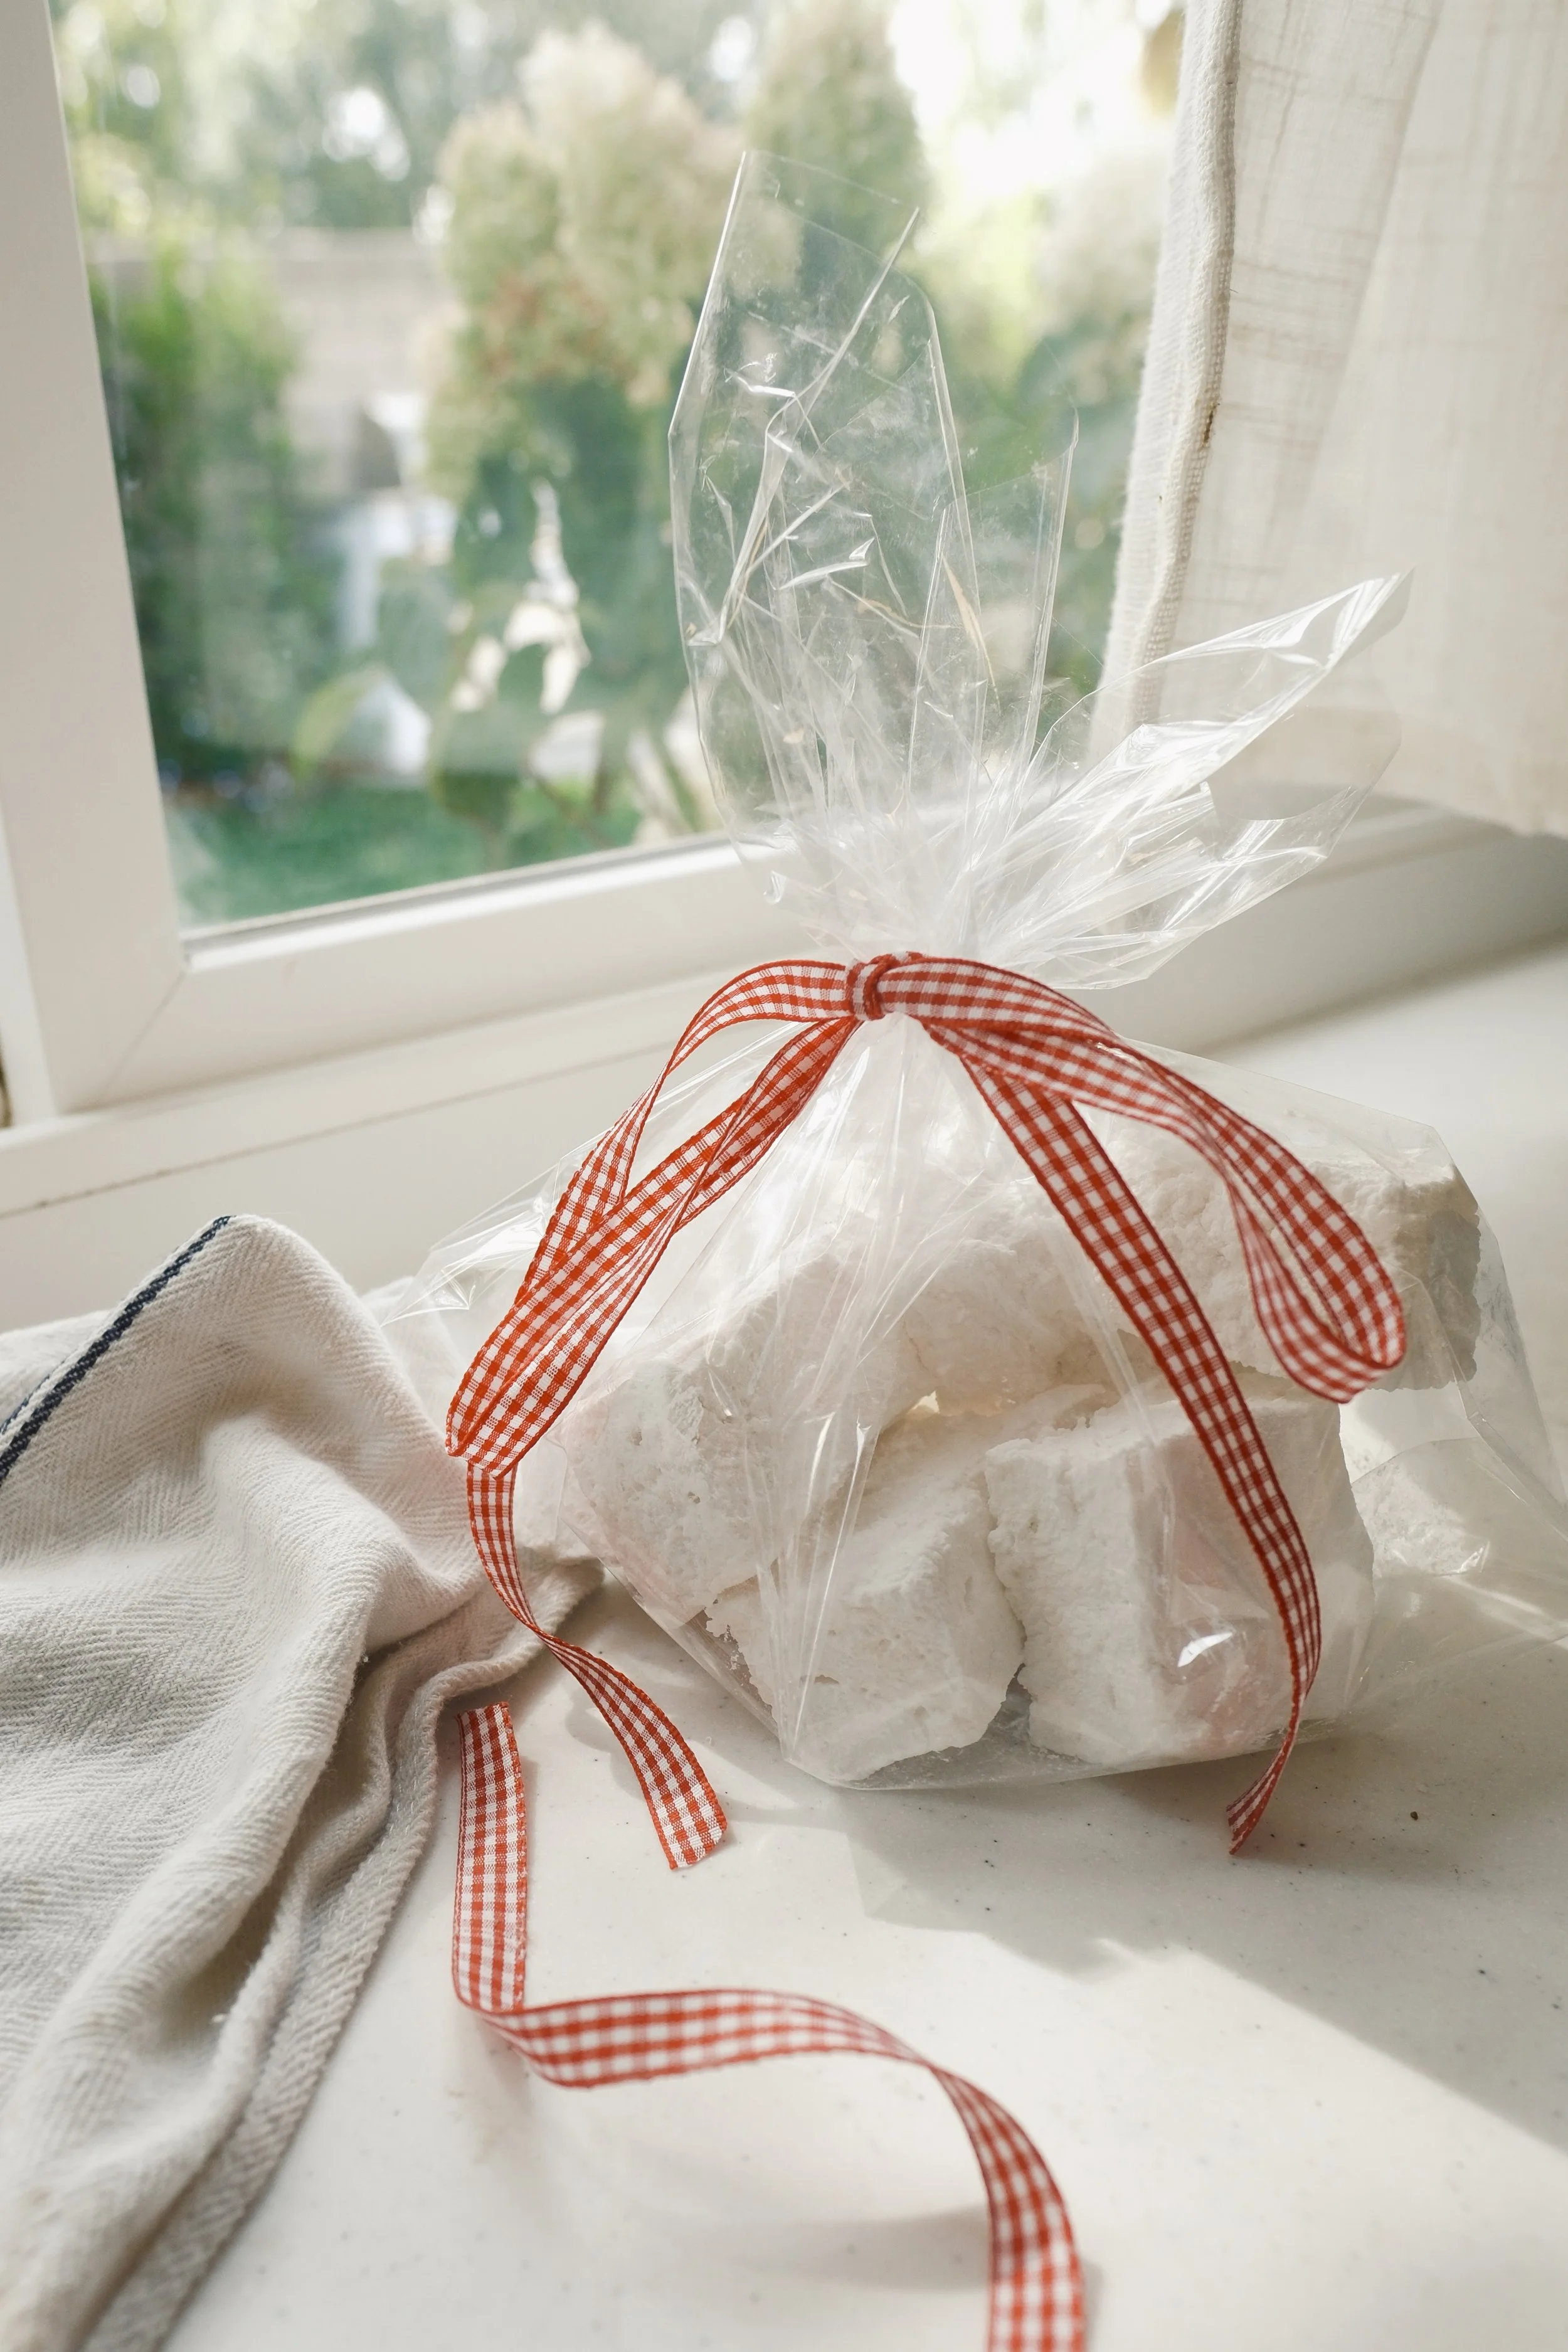
The Perfect Homemade Gift
One of my favorite things about these homemade marshmallows is that they make the sweetest little gift. Wrap a handful in a clear cellophane bag, tie it with ribbon, and you've got a thoughtful homemade treat that's perfect for neighbors, teachers, summer hosts, or friends. They're simple to make, feel incredibly special, and are one of those gifts that shows you took the time to create something with love. Pair them with graham crackers and a chocolate bar for a homemade s'mores kit!
A Recipe by Madeline May
Homemade Vanilla Marshmallows
Soft, fluffy homemade vanilla marshmallows made for summer bonfires, s’mores, and sweet little homemade gifts. They’re surprisingly easy to make and so much better than store bought.
Ingredients
Marshmallows
Dusting
Instructions
- Prepare the pan Lightly grease an 8×8-inch baking dish. Stir together the powdered sugar and cornstarch, then sprinkle a generous layer into the bottom of the pan. Set the remaining mixture aside.
- Bloom the gelatin Pour the cold water into the bowl of a stand mixer fitted with the whisk attachment. Sprinkle the gelatin evenly over the water and let it sit for about 10 minutes.
- Cook the sugar syrup Combine the remaining water, granulated sugar, corn syrup, and salt in a medium saucepan. Cook over medium heat, stirring just until the sugar dissolves. Stop stirring and continue cooking until the syrup reaches 240°F on a candy thermometer.
- Whip the mixture Turn the mixer to low speed and carefully pour the hot syrup into the bloomed gelatin. Slowly increase the mixer to high speed and whip for 10 to 12 minutes, until the mixture is thick, glossy, bright white, and nearly tripled in volume.
- Add the vanilla Add the vanilla extract during the final minute of mixing and continue whipping until fully incorporated.
- Transfer and dust Working quickly, pour the marshmallow mixture into the prepared pan. Smooth the top with a lightly greased offset spatula, then dust generously with the remaining powdered sugar mixture.
- Rest and cut Allow the marshmallows to rest uncovered at room temperature for at least 6 hours. Turn the slab onto a dusted cutting board, cut into squares, and coat every side with the powdered sugar mixture.
Storage
Store in an airtight container at room temperature for up to two weeks. Do not refrigerate.
Make Ahead
These can be made several days before serving or gifting, making them perfect for parties and homemade s’mores kits.
A Note from Madeline May
Homemade marshmallows have become one of my favorite little kitchen projects. They're soft, fluffy, and make any bonfire or cup of hot chocolate feel just a little more special. I hope this recipe becomes one you pull out year after year to make sweet memories with the people you love.
Browse More Recent Recipes